Creating Forms and Links for Subscribing and Unsubscribing
Ready to Create Forms and Links
- Create two email addresses for receiving subscribe and unsubscribe requests. For example: you may choose subscribe@example.com and unsubscribe@example.com;
- Click Mailing Accounts at the left pane and create two mailing accounts for the above email addresses;
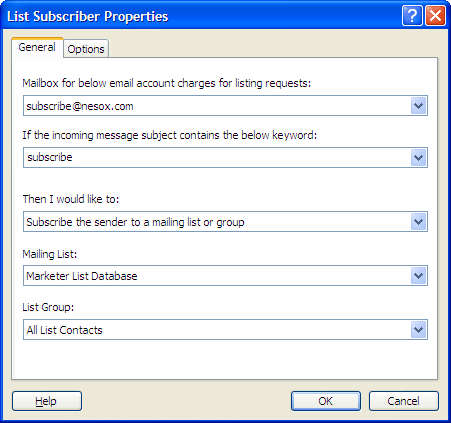
- Click Subscriber Service at the left pane and click the New button to create a new subscriber processor for subscribe requests. You may specify the mailbox as subscribe@example.com,
the subject keyword as "subscribe" and the action as "Subscribe the sender to a mailing list or group".
- Click the New button again to create another subscriber processor for unsubscribe requests. You may specify the mailbox as unsubscribe@example.com, the subject keyword as "unsubscribe"
and the action as "Remove the sender from a mailing list or group".
Creating and Releasing a Subscription Form
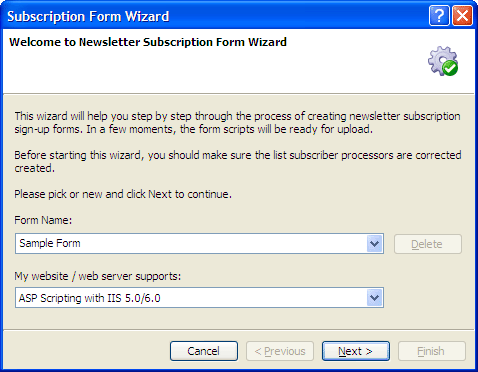
- Click Subscriber Service at the left pane and click the Subscription Form Wizard button. This will help you create the subscription form step by step.
- Specify the Form Name field, also select your web server type and click the Next button. Normally, a subscription form works in ASP or PHP scripting.
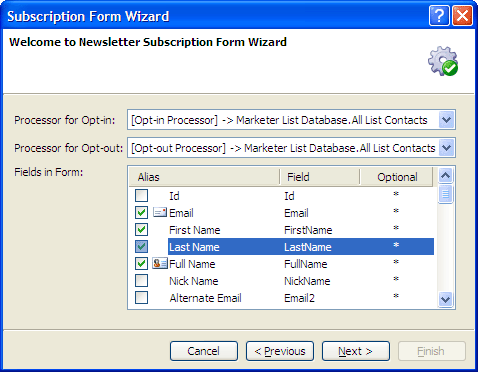
- Select the opt-in and opt-out processor you want to work with. You can also specify one or more list attributes for the subscription form. Click the Next button.
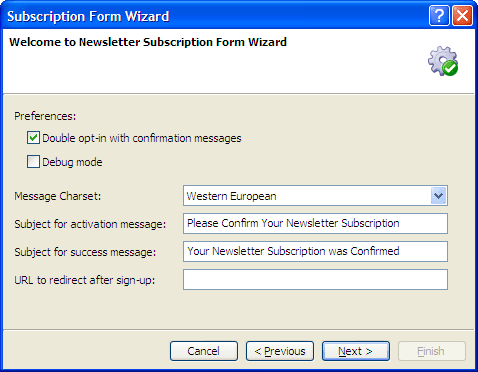
- In this screen, you can change the subscription form settings and customize some text in your own language. Click the Next button and this will preview the form. Make sure it looks ok
and click the Next button again.
- The wizard completes and all scripts for the subscription form will be created
in a folder.
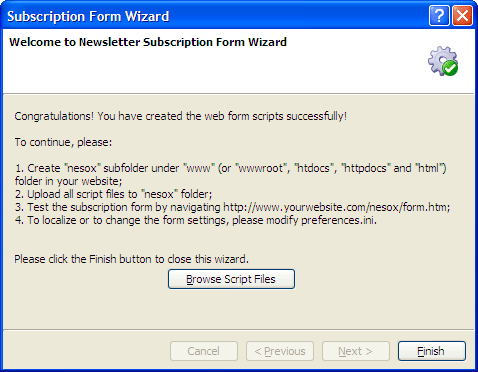
- Click the Browse Script Files button and upload all scripts to your website root folder "nesox".
- Open your web browser and enter "http://www.yourwebsite.com/nesox/form.htm" to the address bar to test the web form. If it works, you can integrate the source codes of form.htm to
any page in your website. Note: If your website supports ASP or PHP scripting, an email request will be created and sent by the scripts directly in background when the form is submitted.
Otherwise, it is created and sent to your mailbox
by the client email program.
- You can change the form settings by editing preferences.ini,
activate.htm, activate.txt file in http://www.yourwebsite.com/nesox/ instead without uploading the scripts again.
Creating and Inserting Unsubscription Links
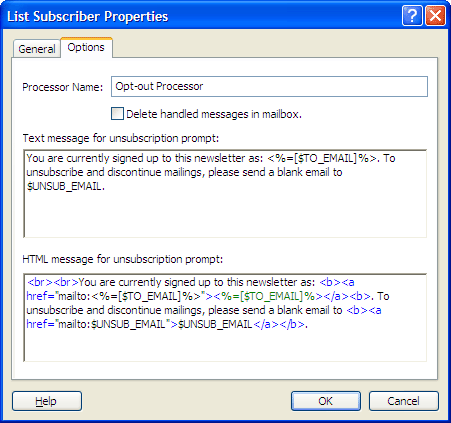
- Click Subscriber Service at the left pane and select an opt-out type processor. Double click on it or click the Property button and click the Options tab;
- Customize the Text or HTML to your specifications and click OK to
save changes;
- To insert the unsubscribe link to your message, please open the project and click the Message tab, right-click or click the main menu Insert and select Unsubscription Text and
Link.
Processing the Requests
- At Subscriber Service, click the Check Mailboxes button scan and process the requests.
- Alternatively, you may keep the Subscriber Service active at the Service Status and requests will be handled every 5 minutes.
- Contacts will be added or removed from your mailing list database.
- Note: You must make sure the mailing accounts for your subscription services are not set up on your Outlook or Outlook Express program. These email client programs (and any other similar email
client) will receive/download all of the email requests in the mailbox. Email Marketer will not be able to find anything when checking the mailbox and your list subscription requests can not be
processed if this happens.
Note that you can place a shortcut to the Email Marketer Monitor
in your Startup Items folder and start the Service automatically, should you need
to shut down or restart your computer. We recommend doing this if you have an ongoing schedule.